Purim Graggers
- JIY
- Feb 10, 2021
- 3 min read
Updated: Feb 12, 2021
Haman was the evil Persian leader who tried to destroy the Jewish People. We shake the gragger when his name is heard during the Megillah Reading to erase his memory.
Make noise in style with these awesome DIY Purim graggers! (Noise makers)

The Car Gragger (Medium difficulty)

What you need:
Pencil
Scissors
Hole Puncher
Funnel
Paper
Cardboard Tube
Rubber Band
Beads or Beans
Brads x4
Soft Bottle Caps x4
Instructions:
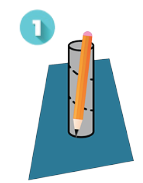
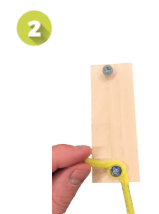
1. Trace a cardboard tube in the middle of a piece of paper.
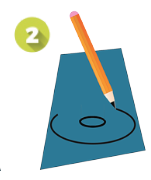
2. Draw a larger circle around the circle you just traced.
3. Cut around the large circle.
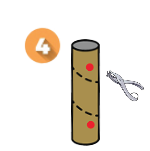
4. Poke 4 holes in the tube (2 on each side). These will be where your wheels will go.
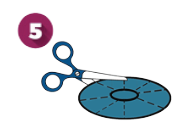
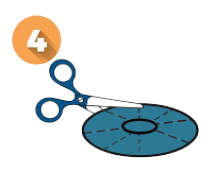
5. Cut lines from the outer circle to the inner circle (but not all the way past the inner circle)
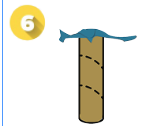
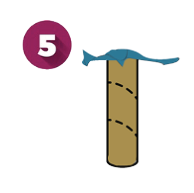
6. Place paper circle on top of cardboard tube and fold the flaps down.
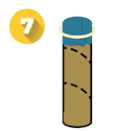
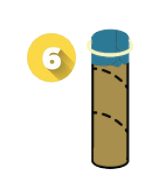
7. Cover the entire opening and secure tabs down with rubber band.
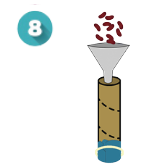
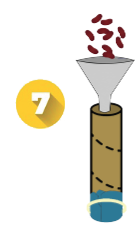
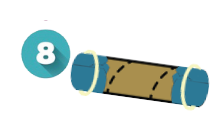
8. Turn upside down and fill with beans. Use a funnel if necessary. Repeat step 6 on the other side to trap the beans inside.
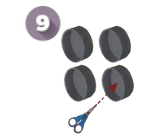
9. Carefully poke a hole in each of the 4 soft bottle caps with a scissor. (You can also cut circles out of cardboard instead.)
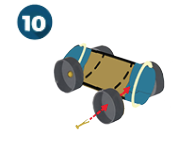
10. Attach each wheel with a brad.
Click here to download the instructions:
The Helicopter Gragger (Easy)

What you need:
Screwdriver
Pencil
Scissors
Funnel (optional)
Plastic bottle with cap
Extra Plastic Cap
Beans or Beads
Craft Sticks
Screws
Cardboard
Instructions:
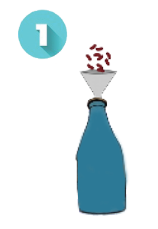
1. Fill bottle with beans using funnel and cover bottle with the cap.
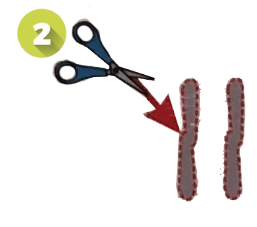
2. Sketch and cutout rear rotors from cardboard.
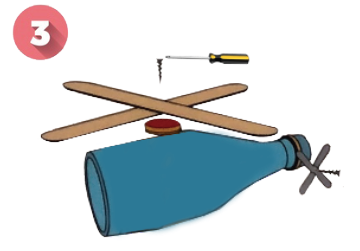
3. Use a plastic lid or cap as a spacer and carefully attach two craft sticks with a screw to make the rotors. Attach the rear rotors from step 2.
**Craft sticks break easily so be careful!
Click here to download the instructions:
The Character Gragger (Difficult)

What you need:
Screw Driver
Hammer
3 Screws
3 Nails
Bells
Wood Block
Foam Ball
Pipe Cleaner
Decorations!
Instructions:
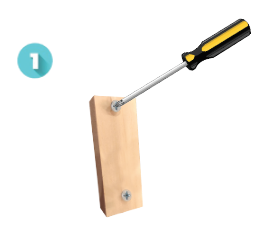
1. Fasten 3 screws as buttons into your block (the body).
2. Hammer 2 nails almost all the way down on the top of the block about half the head of the nail apart from one another. Then slide another nail point up (be careful!) Hammer both nails to secure middle nail pointing upwards.
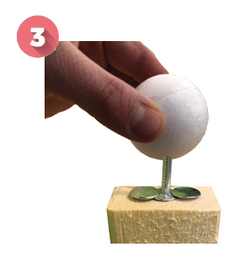
3. Press foam ball into nail to secure the head on the body.
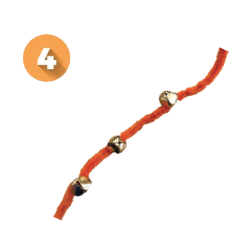
4. Thread 3 bells through a pipe cleaner spreading each one out.
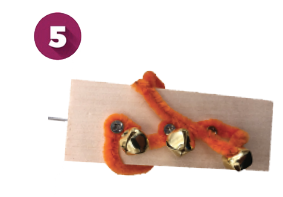
5. Starting on one end, wrap the pipe cleaner around each screw. The remaining pipe cleaner can be cute, wrapped around the block, or tied around the screws.
Click here to download the instructions:
The Clapper Gragger (Easy)

What you need:
Screwdriver
4 screws
2 pipe cleaners
2 wood blocks
Instructions:
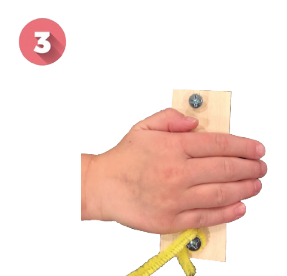
1. Fasten 2 screws into the opposite ends of your block.
2. Tighten pip cleaner around one screw.
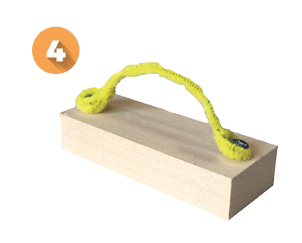
3. Place hand between 2 screws and stretch pipe cleaner over your hand.
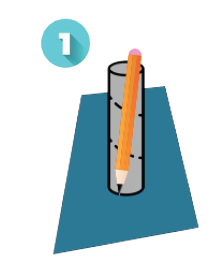
4. Fasten on opposite screw. Repeat steps 1-4 to make your clapper's pair.
Click here to download the instructions:
The Simple Gragger (Easy)

What you need:
Pencil
Scissors
Funnel (optional)
Paper
Cardboard Tube
Rubber Band
Beans or beads
Instructions:
1. Trace a cardboard tube in the middle of a piece of paper.
2. Draw a larger circle around the circle you already traced.
3. Cut out the larger circle.
4. Cut lines from the outer circle to the inner circle (but not all the way past the inner circle).
5. Place paper circle on top of cardboard tube and fold flaps down.
6. Cover the entire opening and secure tabs down with rubber band.
7. Turn upside down and fill with beans. Use a funnel if necessary.
8. Repeat step 6 on the other side to trap the beans inside.
Click here to download the instructions:
The Simple Gragger #2 (Easy)

What you need:
Funnel (optional)
2 Plastic Cups
Tape
Beans or Beads
Decorations!
Instructions:
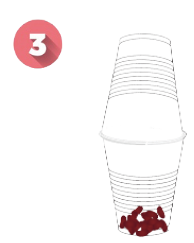
1. Fill plastic cup with beans or beads.
2. Place 2nd cup on top.
3. Tape the two cups together!
4. Decorate!
Click here to download the instructions:

